Looking for a quick and tasty dinner idea? Look no further! My Parmesan Crusted Tilapia is simple to make and full of flavor. This dish uses just a few ingredients and minimal prep time. Even if you’re new to cooking, you’ll impress everyone at the table. Get ready to enjoy a crispy, cheesy crust on tender fish that pairs perfectly with a fresh salad or veggies. Let’s get started!
Ingredients
List of Ingredients
– 4 tilapia fillets
– 1 cup grated Parmesan cheese
– 1 cup panko breadcrumbs
– 1 teaspoon garlic powder
– 1 teaspoon dried oregano
– 1 teaspoon paprika
– 1 teaspoon salt
– 1/2 teaspoon black pepper
– 2 large eggs, beaten
– 2 tablespoons olive oil
– Fresh parsley for garnish
– Lemon wedges for serving
The ingredients for Parmesan Crusted Tilapia are simple and easy to find. You need fresh tilapia fillets, which you can buy at your local market. Use high-quality Parmesan cheese, as it adds a rich flavor to the dish. Panko breadcrumbs are key for a crispy texture.
You will also need a few spices, like garlic powder and oregano, to enhance the taste. Salt and pepper are essential for seasoning. The eggs help the breadcrumbs stick, while olive oil keeps everything moist.
Nutritional Information
– Calories per serving: About 350
– Macronutrient breakdown:
– Protein: 30g
– Fat: 18g
– Carbohydrates: 20g
– Common allergens: Fish, dairy, eggs, gluten (from breadcrumbs)
This dish is not only tasty but also packed with protein. Each serving offers a balanced mix of nutrients, making it a great choice for dinner. Just be mindful of allergens if you are cooking for others.
Step-by-Step Instructions
Prepping the Oven and Ingredients
– Preheat oven to 400°F (200°C).
– Prepare the baking sheet with parchment paper.
First, I set my oven to 400°F. This temperature will help the tilapia cook evenly. Lining a baking sheet with parchment paper keeps the fish from sticking. It also makes clean-up easier.
Mixing the Crust
– Combine Parmesan, panko, and seasonings.
In a bowl, I mix the grated Parmesan, panko, garlic powder, oregano, paprika, salt, and black pepper. This mix gives the fish a tasty top. I stir well until everything blends together.
Coating the Fish
– Patting the tilapia dry.
– Dipping in eggs and coating with breadcrumbs.
Next, I take the tilapia fillets and pat them dry with a paper towel. This step helps the crust stick well. Then, I dip each fillet into beaten eggs. I make sure to cover them fully. After that, I press the fillets into the Parmesan mix. I want both sides to be coated for great flavor.
Baking the Fish
– Arrange on the baking sheet, drizzle olive oil.
– Baking duration and signs of doneness.
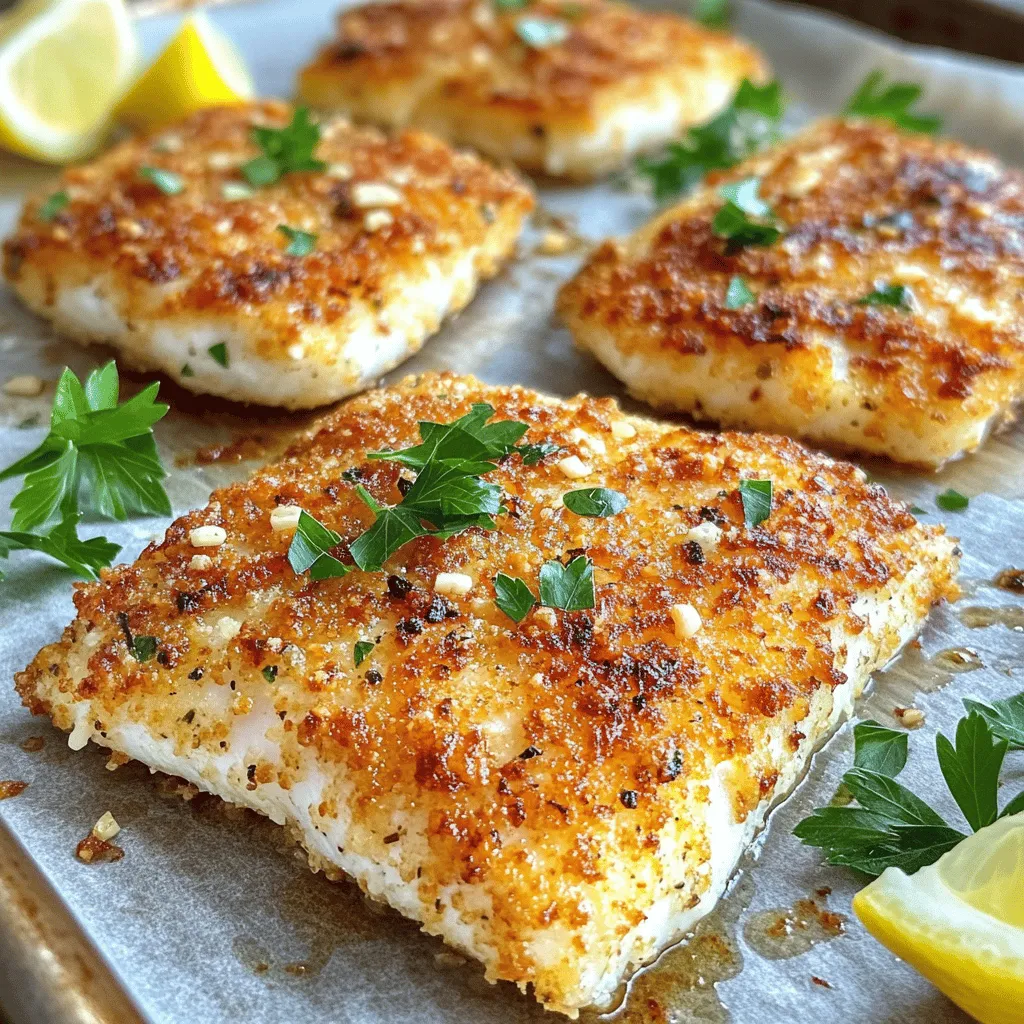
Now, I lay the fillets on the baking sheet. I leave some space between them for air to circulate. I drizzle olive oil on top to help them brown. I bake the fish for 15 to 20 minutes. I know they are done when they turn golden brown and flake easily with a fork.
Tips & Tricks
Achieving the Perfect Crust
To get that perfect crust on your Parmesan crusted tilapia, start by drying the fish. Use a paper towel to pat the fillets dry. This step helps the coating stick better during cooking. If the fish is wet, the crust can become soggy.
Next, ensure you coat the fish evenly. After dipping the fillets in beaten eggs, press them into the Parmesan breadcrumb mixture. Cover both sides well. This way, you get a nice, crunchy texture when it bakes.
Serving Suggestions
When serving, think about what goes well with the fish. Steamed vegetables or a bright salad are great choices. They add color and nutrition to your meal.
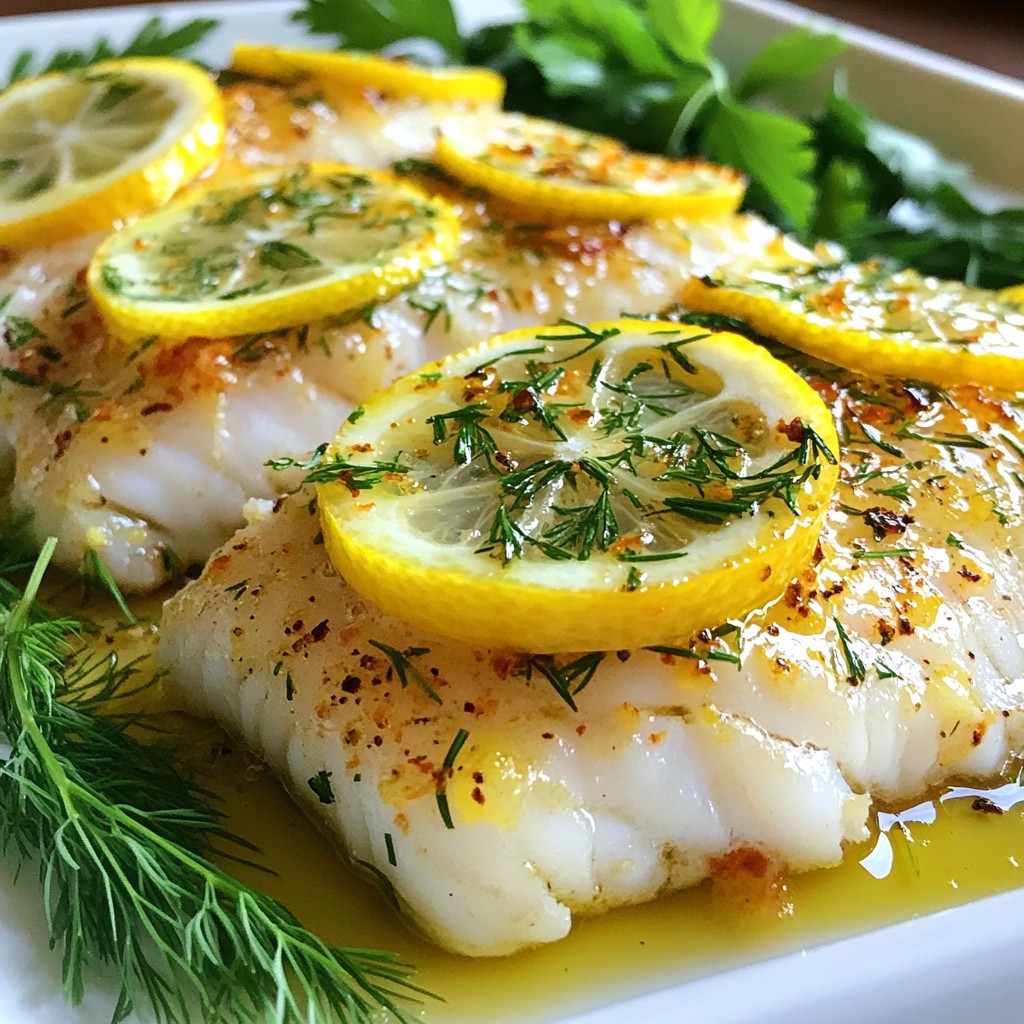
For plating, arrange the fillets on a nice platter. Add lemon wedges around the fish for a pop of color. A sprinkle of fresh parsley on top makes it look even better.
Common Mistakes to Avoid
One mistake is overcrowding the baking sheet. If you place too many fillets too close, they won’t cook evenly. Leave some space between each piece for hot air to flow.
Another mistake is not preheating the oven. Make sure your oven is at 400°F (200°C) before placing the fish inside. This helps the crust get crispy and brown.

Variations
Flavor Profiles
To make your Parmesan crusted tilapia even tastier, try adding extra spices. Some great options include:
– Cayenne pepper for heat
– Italian seasoning for a herby taste
– Onion powder for a savory kick
You can also switch up the cheese. Instead of Parmesan, use:
– Asiago for a sharper flavor
– Mozzarella for a creamier texture
– Cheddar for a rich taste
Dietary Adjustments
If you need a gluten-free option, replace panko breadcrumbs with:
– Crushed rice cereal
– Almond flour
These alternatives still give a nice crunch. If tilapia isn’t your favorite, try using:
– Cod for a mild taste
– Salmon for a richer flavor
– Chicken breast for a different protein
Cooking Methods
Want to try a different cooking method? The air fryer is an excellent choice. Here’s how:
1. Preheat your air fryer to 400°F (200°C).
2. Cook the coated tilapia for about 10-12 minutes.
3. Check for a golden crust and flaky fish.
For a pan-frying option, follow these steps:
1. Heat olive oil in a skillet over medium heat.
2. Fry each fillet for about 4-5 minutes on each side.
3. Look for a crispy crust and fully cooked fish.
Storage Info
Leftover Storage
Store any leftover Parmesan crusted tilapia in the fridge. Place the fish in a shallow, airtight container. This keeps it fresh and tasty. It is best to eat leftovers within two days. For best results, try to keep the crust intact.
Reheating Instructions
To reheat, use an oven or an air fryer. Preheat the oven to 350°F (175°C) and bake for about 10 minutes. This helps keep the crust crispy. In the air fryer, set it to 350°F (175°C) for about 5 minutes. Check that the fish is warmed through.
Freezing Options
Yes, you can freeze Parmesan crusted tilapia! Wrap each fillet tightly in plastic wrap. Then, place them in a freezer bag. This keeps them safe from freezer burn. To thaw, move the fish to the fridge overnight. You can also use a microwave on low power if you’re in a hurry.Enjoy your tasty and simple dinner idea!
FAQs
Can I use frozen tilapia for this recipe?
Yes, you can use frozen tilapia. Just thaw it before cooking. To thaw, place the fish in the fridge overnight. If you need it faster, seal it in a bag and submerge it in cold water for about an hour. Make sure the fish is fully thawed. This helps the coating stick better.
How do I know when the fish is properly cooked?
Look for a few signs to know if the fish is done. First, it should turn golden brown on the outside. Then, use a fork to check the fish. If it flakes easily, it’s ready. The flesh should be opaque, not translucent. An internal temperature of 145°F (63°C) means it’s safe to eat.
Can I make this dish ahead of time?
Yes, this dish can be prepped ahead of time. You can coat the tilapia and keep it in the fridge for up to one day. Just cover it with plastic wrap. When you are ready, bake it as directed. If you want, you can also freeze the coated fillets. Thaw them overnight in the fridge before baking.
What should I serve with Parmesan Crusted Tilapia?
This dish pairs well with many sides. Here are some great options:
– Roasted vegetables: Carrots, asparagus, or broccoli.
– Salads: A light green salad with lemon vinaigrette.
– Rice or quinoa: Simple and filling options.
– Potatoes: Mashed, baked, or roasted.
– Drinks: A crisp white wine or sparkling water complements the fish.
This blog post showed you how to make Parmesan crusted tilapia, focusing on ingredients, preparation, and tips. With simple steps, you can create a tasty dish that’s crispy and satisfying. Remember to dry the fish well for the best crust. Whether you are cooking for family or friends, this recipe offers great flavors. Enjoy experimenting with variations and serving ideas. With practice, you’ll master this dish and impress everyone at the table. Cooking can be fun, so dive in and try it today!