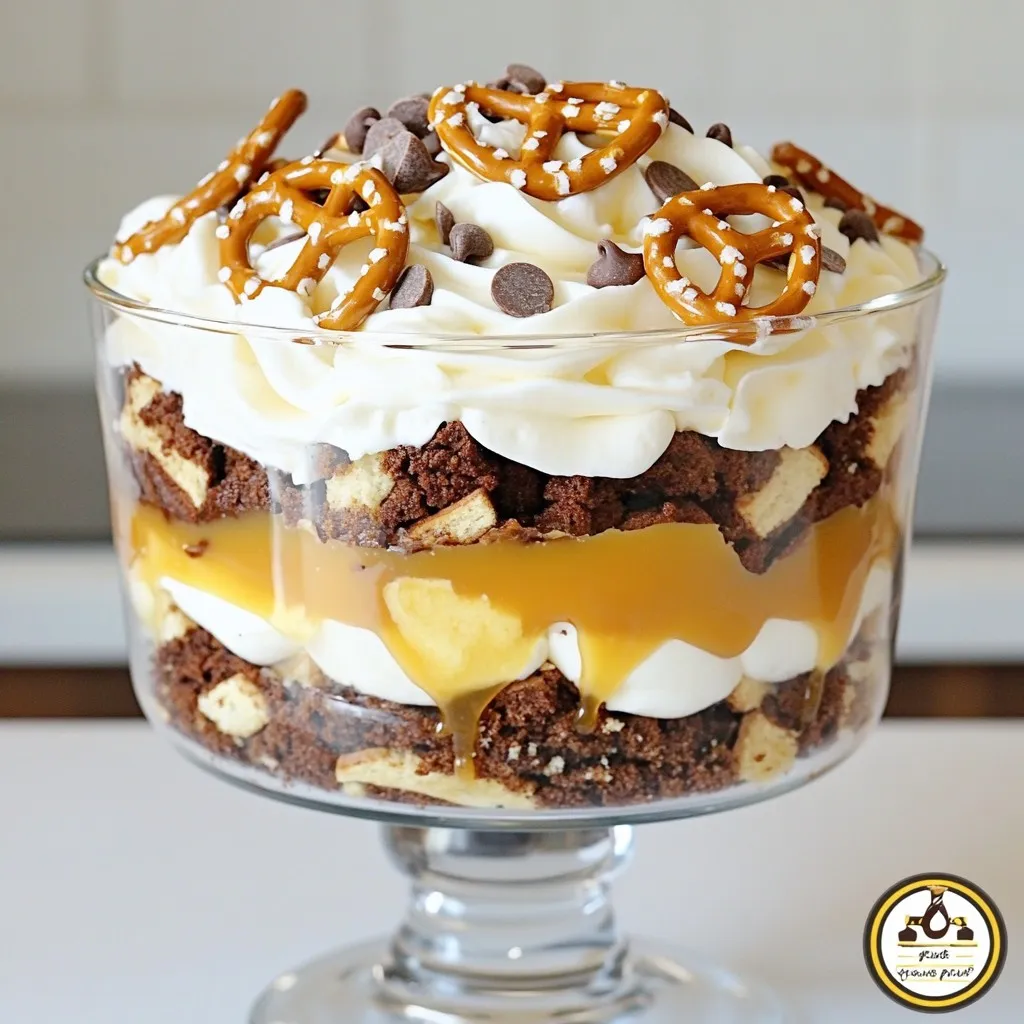
Looking for a dessert that will wow your friends and family? Look no further than this Salted Caramel Brownie Trifle! This layered delight features rich brownies, creamy whipped topping, and luscious salted caramel. It’s easy to make, customizable, and perfect for any occasion. Trust me, once you try it, you’ll never want dessert any other way! Let’s dive into the ingredients and start creating your irresistible dessert delight.
Why I Love This Recipe
- Decadent Layers: This trifle combines rich brownies, creamy whipped cream, and luscious salted caramel, creating a delightful mix of flavors and textures.
- Easy to Assemble: With simple layering steps, this recipe is perfect for both novice and experienced bakers, allowing you to create an impressive dessert without the fuss.
- Customizable Delight: You can easily modify the ingredients, adding your favorite toppings or using different types of chocolate to make it your own.
- Perfect for Any Occasion: This trifle is ideal for celebrations, potlucks, or simply as a sweet treat to enjoy at home with family and friends.
Ingredients
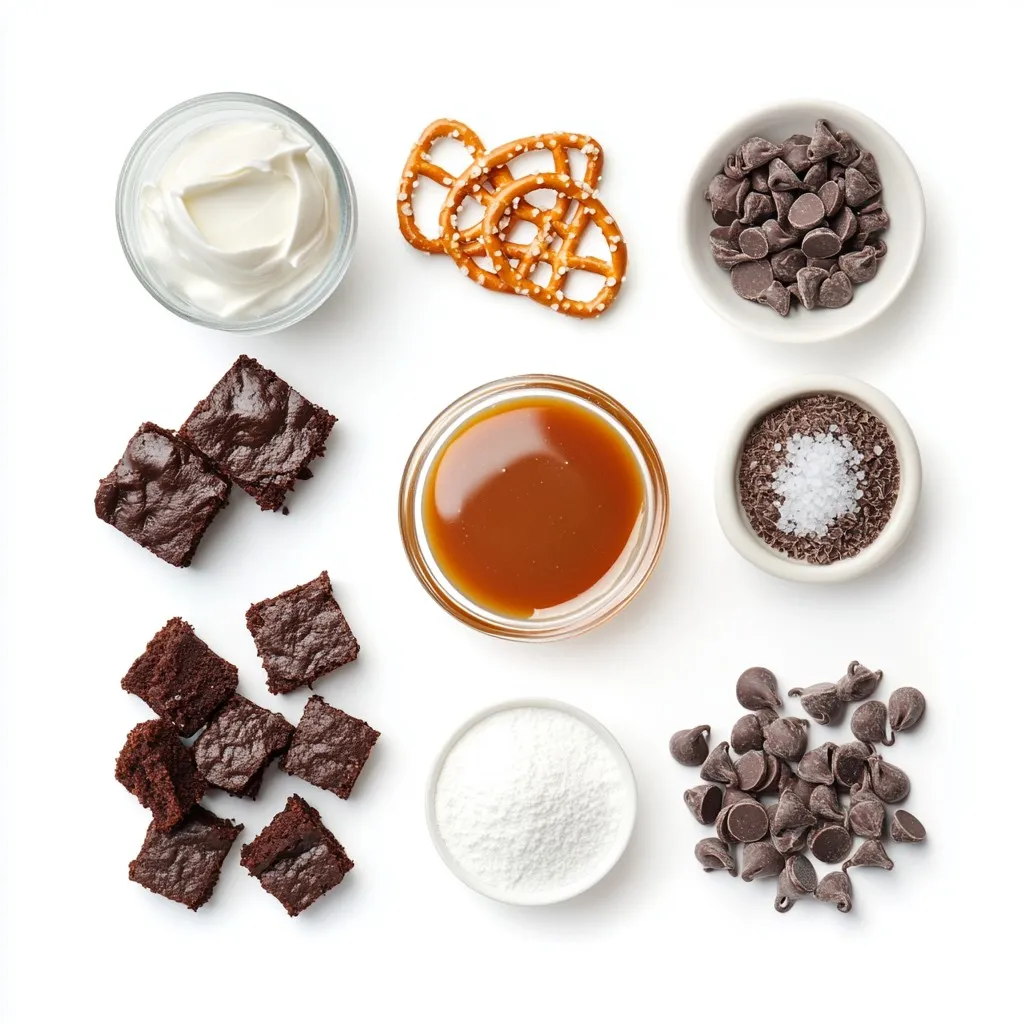
To make a salted caramel brownie trifle, gather your ingredients. Having everything ready will help the process go smoothly. Here is what you need:
– Brownies: homemade or store-bought
– Salted caramel sauce: store-bought or homemade
– Heavy whipping cream
– Powdered sugar
– Vanilla extract
– Mini chocolate chips
– Crushed pretzels
– Flaky sea salt for garnish
Each ingredient plays a key role in building flavor and texture. The brownies create a rich base, while the salted caramel adds sweetness and depth. Heavy cream gives a light and fluffy layer. Powdered sugar and vanilla enhance the cream’s flavor.
Mini chocolate chips add little bursts of chocolate throughout. Crushed pretzels give a nice crunch and salty contrast. Finally, flaky sea salt on top brightens the whole dessert. It’s all about balance.
You can choose homemade or store-bought options based on your time and skill level. Both will work well in this trifle. The key is to enjoy the process and make it your own.
Step-by-Step Instructions
Preparing the Brownies
Making homemade brownies: Start by baking your favorite brownie recipe. Let them cool fully on a wire rack. This cooling is key. If they are warm, they will crumble when cut. Once cool, chop them into bite-sized squares. This will create a great base for your trifle.
Using store-bought brownies: If you choose store-bought, pick a brand you enjoy. Cut them into squares as well. This saves time without losing taste.
Making the Whipped Cream
Combining ingredients: In a large bowl, mix the heavy whipping cream, powdered sugar, and vanilla. Use a whisk or mixer for this step.
Whipping tips for perfect texture: Whip on medium speed. Watch for soft peaks. This should only take about 3-5 minutes. You want the cream light and fluffy, not too thick.
Assembling the Trifle
Layering process: Grab a trifle dish or individual glasses. Start with a layer of brownie pieces. Drizzle salted caramel sauce over the brownies. Let it seep into the brownies for extra flavor.
Tips for even layering: Use a spatula to spread the whipped cream evenly. This helps with the look and taste. Repeat the layers until you reach the top. The last layer should always be whipped cream.
Final Touches
Adding toppings: Sprinkle mini chocolate chips and crushed pretzels on the final layer. The pretzels add a nice crunch.
Chilling tips and importance of flavor melding: Cover the trifle with plastic wrap. Chill for at least 2 hours. This time lets the flavors blend. It also helps the brownies soak up moisture. Enjoy the richer taste when you serve it!
Tips & Tricks
Best Practices for Making the Trifle
– Ensuring perfect layers: Start with brownie pieces at the bottom. Press them down gently to make a solid base. Drizzle salted caramel sauce evenly over the brownies. This step is key for flavor. Add whipped cream next, spreading it smoothly. Repeat these layers until you reach the top. Finish with a layer of whipped cream. This method helps keep each flavor distinct.
– How to achieve ideal whipped cream texture: Use cold heavy cream for best results. Combine it with powdered sugar and vanilla. Whip it on medium speed until soft peaks form. It should not be over-beaten; that can turn it into butter. The perfect whipped cream should be fluffy and stable. This will hold your trifle layers together nicely.
Ingredient Substitutions
– Gluten-free brownie options: You can use gluten-free brownie mixes. These are easy to find in stores. They provide a similar taste and texture. If you prefer homemade, use almond flour or a gluten-free flour blend. Just ensure your other ingredients are also gluten-free.
– Vegan whipping cream alternatives: For a vegan option, use coconut cream or a store-bought vegan whipped cream. Both work well in this recipe. Just remember to chill the coconut cream overnight for best results. This ensures it whips up well and gives a creamy texture.
Presentation Suggestions
– Creative serving ideas: You can use individual cups for a fun twist. This makes serving easy and looks great. Layer the ingredients in clear cups to showcase the beautiful layers. You can also use a large trifle dish for a stunning centerpiece.
– Garnishing techniques for visual appeal: Top your trifle with mini chocolate chips and crushed pretzels. This adds texture and color. A sprinkle of flaky sea salt enhances the flavor and looks fancy. You can also add fresh mint leaves for a pop of green. These small touches make your dessert even more inviting.
Pro Tips
- Brownie Consistency: Ensure your brownies are fully cooled before cutting them into squares. This prevents them from crumbling and helps maintain their shape in the trifle.
- Whipped Cream Stability: For a more stable whipped cream, consider adding a tablespoon of gelatin mixed with water or a stabilizer to help it hold its shape longer during serving.
- Flavor Infusion: Allow the trifle to chill for longer than 2 hours if possible. This extra time enhances the flavor melding and makes the dessert even more delicious.
- Layering Technique: When layering the trifle, use a spatula to spread each layer evenly, ensuring every bite has a perfect mix of brownie, caramel, and whipped cream.
Variations
Different Flavor Combinations
You can change up the classic salted caramel brownie trifle in fun ways. For a fruity twist, try adding layers of berries or bananas. The fresh fruit brightens the dish and adds a nice contrast. Just slice the fruit and place a layer between the brownies and cream. It’s a simple change that makes a big difference.
Another great option is to flavor the whipped cream. You can add mint or coffee to the cream for a unique taste. For mint, add a few drops of mint extract to the cream mix. If you love coffee, mix in some instant coffee granules. Both options will make your trifle stand out.
Theme-Based Trifles
You can also create themed trifles for special occasions. For seasonal treats, consider pumpkin spice in the fall or peppermint in the winter. Just swap the caramel sauce for pumpkin puree mixed with spices or crushed peppermint candies.
For celebrations, think about birthday or holiday-themed trifles. Use bright colors or festive toppings to match the event. You can even customize layers with favorite candies or desserts. This makes your trifle not just a dessert but a fun part of the celebration.
Storage Info
How to Store Leftovers
To keep your trifle fresh, cover it tightly with plastic wrap. This helps prevent it from drying out. Store it in the fridge for up to three days. If you want to keep the layers intact, it’s best to store each component separately. For the brownies, place them in an airtight container. The salted caramel sauce can also go in a jar. This way, you can enjoy the trifle later without losing its texture.
Reheating Tips
If you freeze the brownies or caramel sauce, allow them to thaw in the fridge overnight. For the trifle, it’s best served chilled. You don’t need to reheat it. Just take it out of the fridge before serving. Add fresh toppings, like mini chocolate chips and flaky sea salt, to revive its look and flavor. Enjoy each layer of this delightful treat!
FAQs
Common Questions about Salted Caramel Brownie Trifle
What can I use instead of heavy cream?
You can use coconut cream or a dairy-free whipping cream. Both give a nice texture. If you prefer, you can also try half-and-half. It won’t whip up as thick but can work in a pinch.
How long can I store the trifle in the fridge?
You can store the trifle in the fridge for up to three days. The flavors will mix and taste even better over time. Just make sure to cover it well to keep it fresh.
Can I make the trifle ahead of time?
Yes! You can prepare the trifle a day in advance. This makes it a great choice for parties. Just let it chill in the fridge overnight for the best results.
What’s the best way to serve a trifle?
Serve the trifle chilled. Use a large spoon to scoop out portions. For a pretty touch, drizzle extra salted caramel on top. You can also add a mint leaf for color.
How do I troubleshoot a runny whipped cream?
If your whipped cream is runny, it might be under-whipped. Keep whipping until you see soft peaks. If it’s too warm, chill it for a bit. Then, whip again until it thickens.
What are the key differences between homemade and store-bought caramel sauce?
Homemade caramel sauce is often richer and has a deeper flavor. You can control the sweetness and saltiness. Store-bought is quick and easy, but it may have extra preservatives.
This blog post covers everything on making a delicious salted caramel brownie trifle. You learned about the ingredients, step-by-step preparation, and tips to perfect your trifle. Remember to layer the brownies, caramel, and whipped cream for the best flavor. Get creative with different flavors and presentations to make it your own. Finally, store any leftovers properly to enjoy later. Now, you can impress friends and family with your tasty trifl