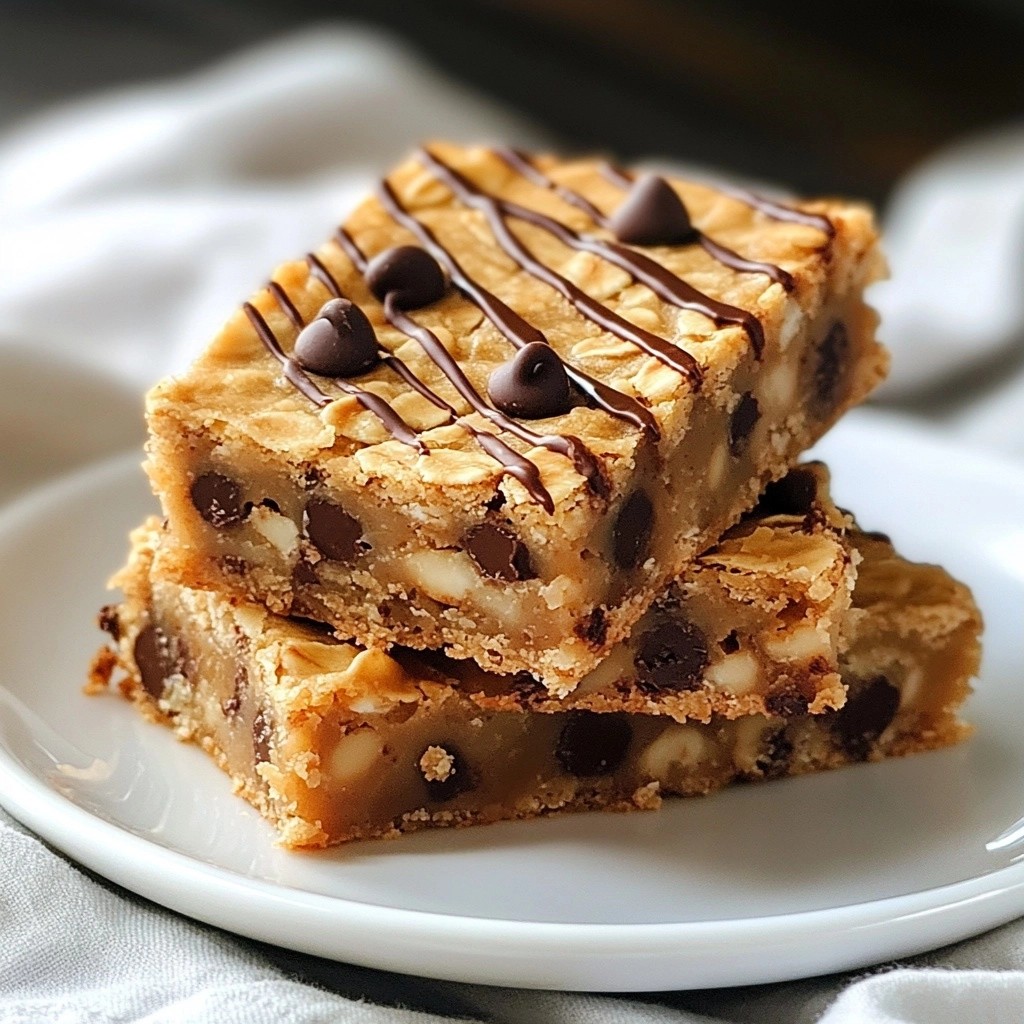
Looking for a quick, tasty treat your kids will love? This Sweet Kids-Friendly Peanut Butter Oat Bars Recipe is just what you need! Simple to make and packed with flavor, these bars are a go-to snack for busy days. I'll guide you through the easy steps, share helpful tips, and present fun variations. Get ready to whip up a batch that your kids will ask for again and again!
Why I Love This Recipe
- Kid-Friendly: This recipe is perfect for little hands, making it easy for kids to help in the kitchen and enjoy healthy snacks.
- Nutritious Ingredients: Combining oats, peanut butter, and dried fruits creates a wholesome and nutritious snack that fuels little bodies.
- Customizable: You can easily adapt the recipe by adding your child's favorite mix-ins, like chocolate chips or different dried fruits.
- Quick and Easy: With just a few simple steps and minimal prep time, you can whip up a batch of these delicious bars in no time.
Ingredients
Key Ingredients Overview
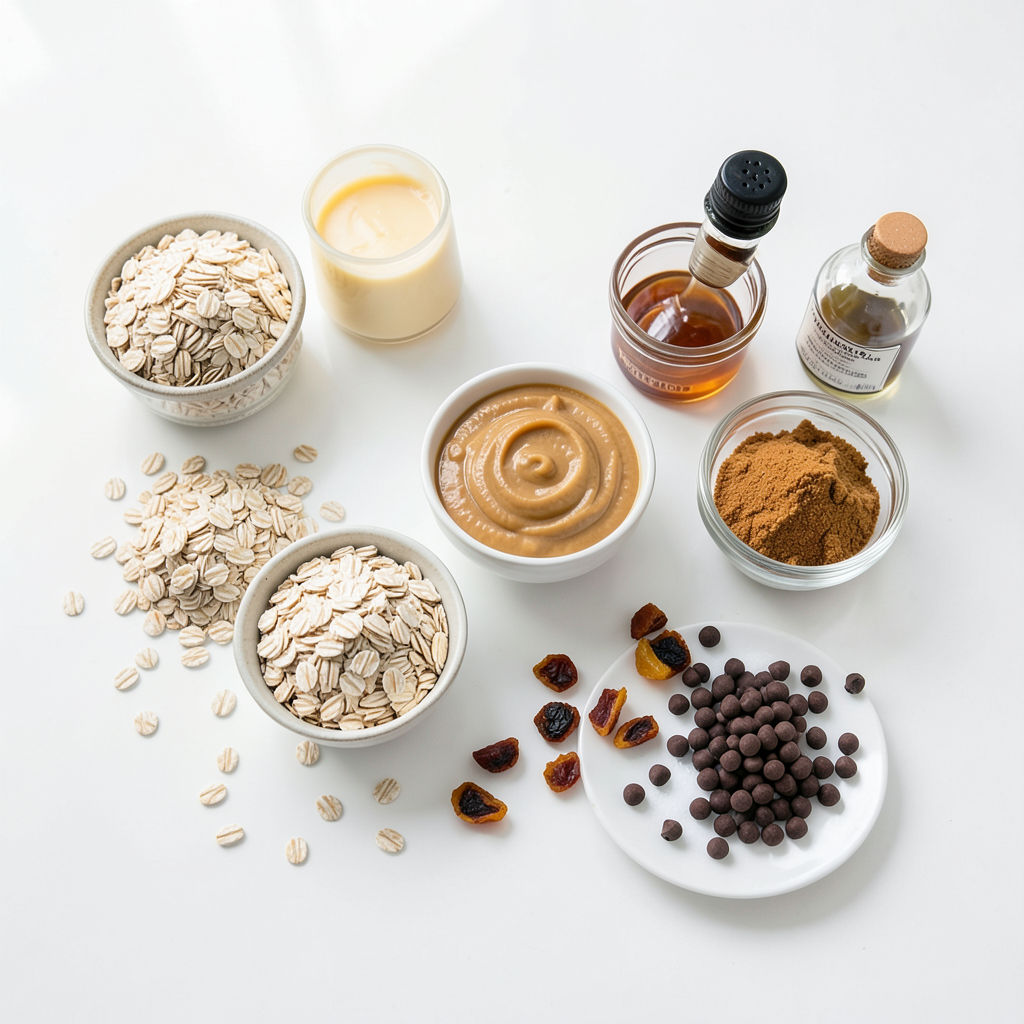
For these sweet kids-friendly peanut butter oat bars, you need a few simple ingredients:
- 1 cup rolled oats
- 1/2 cup natural peanut butter (smooth or crunchy)
- 1/4 cup honey or maple syrup
- 1/4 cup packed light brown sugar
- 1/2 teaspoon pure vanilla extract
- 1/4 teaspoon fine sea salt
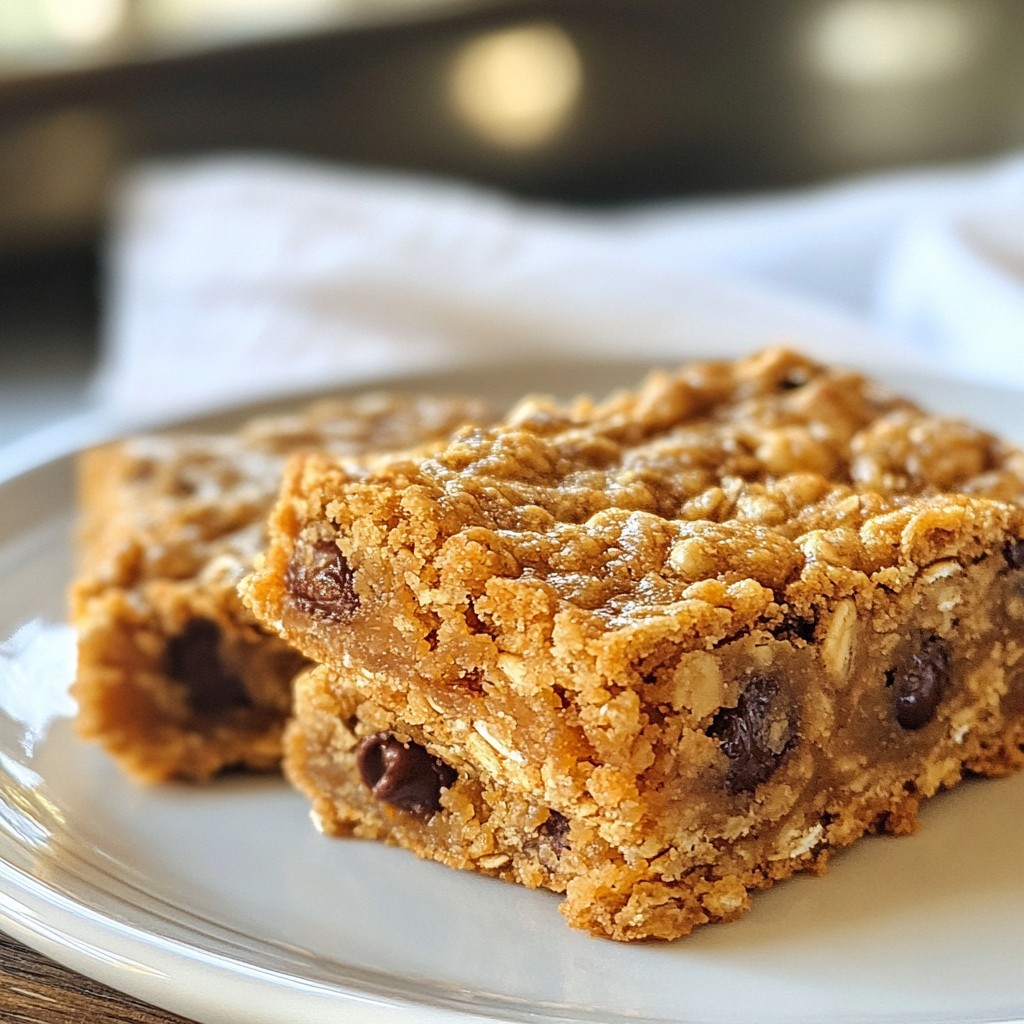
These key ingredients come together to create a chewy and tasty snack. The oats add fiber, while peanut butter brings protein and healthy fats. Honey or maple syrup sweetens the bars naturally, making them a hit with kids.
Optional Add-ins
You can make these bars even more fun with some optional add-ins:
- 1/2 cup mini chocolate chips
- 1/2 cup dried fruit (like raisins, cranberries, or chopped apples)
These add-ins boost flavor and texture. Chocolate chips add sweetness, while dried fruit gives a fruity twist. You can mix and match to find your favorite combination.
Substitutions for Dietary Preferences
If you have dietary needs, here are some easy swaps:
- For a vegan option, use maple syrup instead of honey.
- If nut allergies are a concern, you can replace peanut butter with sunflower seed butter.
These substitutions maintain the taste while being safe for everyone. Feel free to adjust the recipe based on your kids' favorites and needs.
Step-by-Step Instructions
Prepping the Oven and Baking Dish
First, preheat your oven to 350°F (175°C). This step is important to ensure even baking. Next, grab an 8x8 inch baking dish. Line it with parchment paper. Leave some paper hanging over the edges. This makes it easier to lift the bars out later.
Mixing the Ingredients
In a large bowl, add 1 cup of rolled oats. Then, scoop in 1/2 cup of natural peanut butter. If you like, you can choose smooth or crunchy peanut butter. Next, pour in 1/4 cup of honey or maple syrup. If you want a vegan option, go for maple syrup. Add 1/4 cup of packed light brown sugar. Now, mix these ingredients together with a spatula or spoon. Keep stirring until the mixture is thick and sticky.
After that, add 1/2 teaspoon of pure vanilla extract and 1/4 teaspoon of fine sea salt. Stir again to blend everything well. If you want some extra yumminess, fold in 1/2 cup of mini chocolate chips or 1/2 cup of dried fruit like raisins or chopped apples. This adds great flavor and texture.
Baking and Cooling Process
Now, transfer the mixture into your prepared baking dish. Use a spatula or the back of a spoon to press it down firmly. Make sure it’s even all around. Place the baking dish in your preheated oven. Bake for about 20 to 25 minutes. The bars are ready when the edges turn golden brown.
Once baked, let the bars cool in the pan for about 10 minutes. After that, lift the entire slab out using the parchment paper. Place it on a wire rack to cool completely. Finally, slice the cooled bars into squares or rectangles. Store them in an airtight container for up to a week. Enjoy your sweet kids-friendly peanut butter oat bars!
Tips & Tricks
Achieving the Perfect Texture
To get the best texture in your peanut butter oat bars, follow these tips. Use rolled oats instead of instant oats. Rolled oats provide a chewy bite. Make sure to mix the ingredients until they are thick and sticky. This helps the bars hold together well. Press the mixture firmly into the baking dish. This will create a dense bar that cuts well after baking.
Making Ahead and Freezing
You can make these bars ahead of time. After baking, let them cool completely. Cut them into squares or rectangles. Then, wrap each piece in plastic wrap. Place them in an airtight container. You can freeze them for up to three months. When you are ready to eat, simply thaw at room temperature or microwave for a few seconds.
Serving Suggestions for Kids
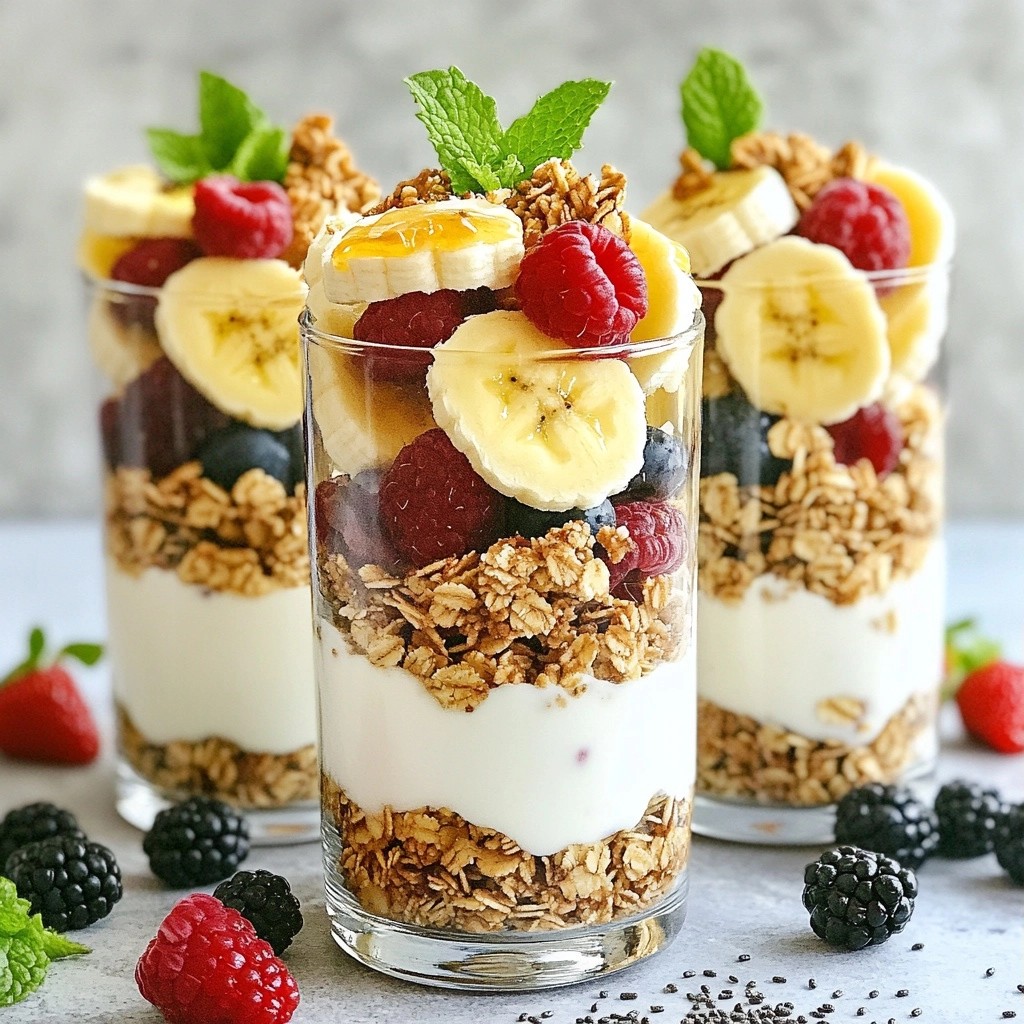
Serve these bars as a fun snack or breakfast for kids. You can drizzle some extra peanut butter on top for added flavor. Another idea is to sprinkle mini chocolate chips or chopped nuts before serving. For a colorful plate, add fruit slices or yogurt on the side. This makes it a balanced meal that kids will love.
Pro Tips
- Use Old-Fashioned Rolled Oats: Quick oats can make the bars too soft. Old-fashioned rolled oats provide the right texture and chewiness.
- Experiment with Mix-Ins: Try adding seeds, nuts, or coconut flakes for added flavor and nutrition. Customize based on what your little ones enjoy!
- Let Them Cool Completely: Allowing the bars to cool fully helps them firm up, making it easier to slice them into neat bars without crumbling.
- Store Properly: Keep the bars in an airtight container at room temperature to maintain freshness. For longer storage, refrigerate them.
Variations of Peanut Butter Oat Bars
Healthy Additions or Swaps
You can make these bars even healthier with some easy swaps. Instead of brown sugar, use mashed bananas. They add natural sweetness and moisture. You could also swap honey for unsweetened applesauce. This change cuts sugar and adds fiber. For a crunch, add seeds like chia or flaxseeds. They are great for omega-3s and protein.
Flavor Variations (Chocolate, Nut, etc.)
Want to change the taste? You can easily add flavors. For a chocolate twist, mix in cocoa powder. Just 2 tablespoons will do the trick! If your kids love nuts, try almond butter or cashew butter instead of peanut butter. You can also add cocoa nibs along with chocolate chips for a richer taste. Experiment with spices like cinnamon for warmth.
Allergy-Friendly Alternatives
You can make these bars safe for allergies too. If you need a nut-free version, try sunflower seed butter. It works well and tastes great! For gluten-free options, choose certified gluten-free oats. This makes the bars safe for those with gluten sensitivity. You can even skip the chocolate chips if needed. Use dried fruit or seeds as a yummy mix-in.
Storage Information
Best Practices for Freshness
To keep your peanut butter oat bars fresh, store them in an airtight container. This helps keep moisture out and prevents them from getting hard. Place a piece of parchment paper between layers, if stacking. This will keep them from sticking together. For the best taste, enjoy them within a week.
How to Store Long-Term
If you want to save your bars for later, consider freezing them. Wrap each bar tightly in plastic wrap or foil. Then, place them in a freezer bag or container. They can stay fresh in the freezer for up to three months. When you want to eat one, just thaw it in the fridge overnight.
Signs of Spoilage
Check for signs of spoilage before eating your bars. If you see mold or an off smell, toss them out. If they feel very hard or dry, they may not taste good. Always trust your senses when deciding if food is still safe to eat.
FAQs
Can I make these bars vegan?
Yes, you can make these bars vegan! Just switch the honey for maple syrup. Maple syrup adds a sweet touch and keeps the recipe plant-based. All other ingredients are already vegan-friendly. Opt for smooth or crunchy peanut butter, depending on your taste.
What can I substitute for peanut butter?
If you want to avoid peanut butter, there are great options. Almond butter is a popular choice and has a nice flavor. Sunflower seed butter is another good option, especially for nut allergies. Both will keep the bars tasty and healthy. Choose a nut or seed butter that is natural and creamy for best results.
How do I know when the bars are done baking?
To check if the bars are done, look for golden brown edges. The center should feel firm when touched. You can also insert a toothpick into the center. If it comes out clean, the bars are ready. Baking time is usually 20 to 25 minutes, so keep an eye on them!
In this post, we covered key ingredients, step-by-step instructions, and helpful tips for making peanut butter oat bars. We also explored fun variations and storage tips. Remember, these bars are easy to adapt for different tastes and diets. You can make them your own by adding flavors or using substitutes. Making these bars is simple and fun. Enjoy the process and share them with friends or family! Your next snack is just a bake away.