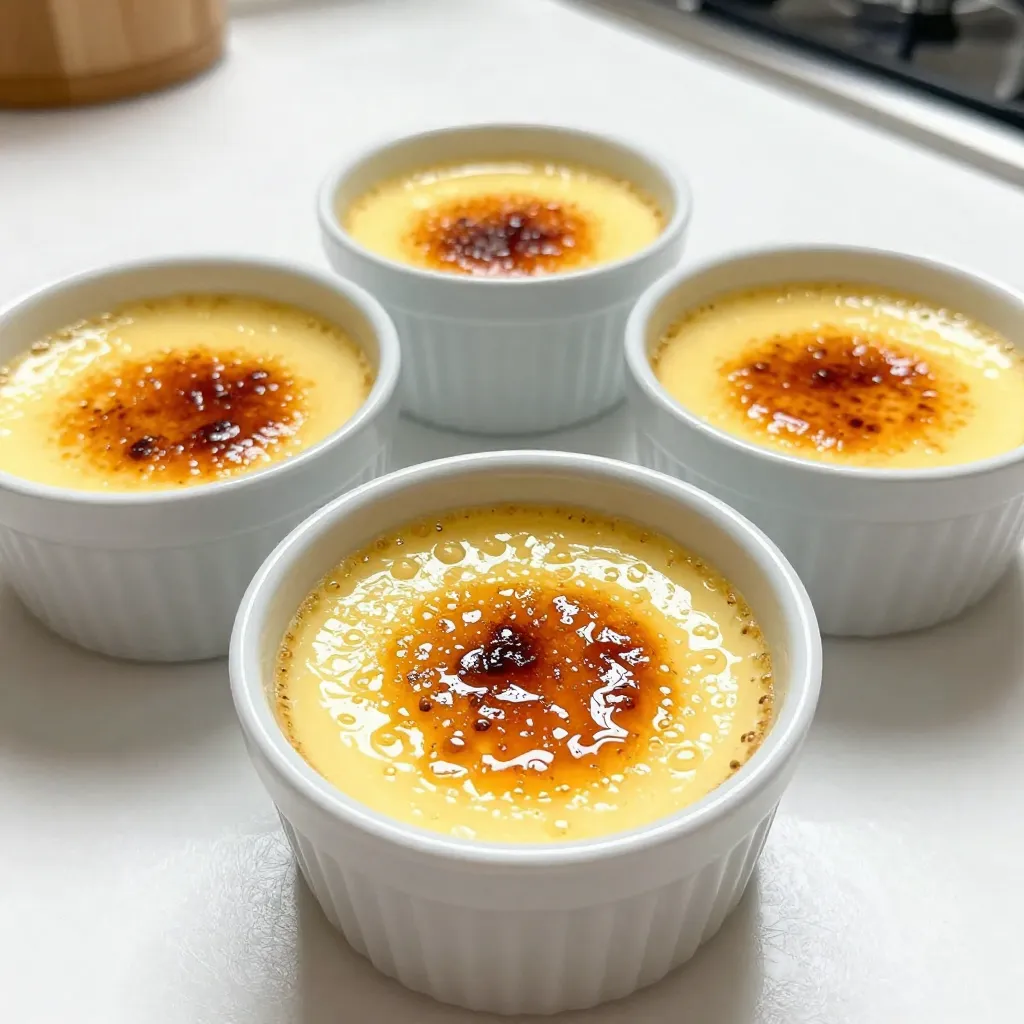
Craving a dessert that’s rich, creamy, and a little fancy? Look no further than vanilla bean crème brûlée! This classic treat will have your taste buds dancing. With its smooth custard and a perfectly caramelized topping, it’s a show-stopping dessert you can master at home. Join me as we explore the simple steps, tips, and variations for creating your own delicious crème brûlée. Let’s dive in!
Why I Love This Recipe
- Decadent Flavor: This crème brûlée is a perfect balance of rich cream, sweet vanilla, and a satisfying crunchy caramel topping that creates an indulgent dessert experience.
- Elegant Presentation: Served in charming ramekins, this dessert impresses guests with its sophisticated look, making it ideal for special occasions or dinner parties.
- Culinary Technique: Mastering the art of caramelizing sugar on top adds a fun cooking skill to your repertoire, showcasing your culinary prowess.
- Versatile Serving: This recipe allows for endless variations, from adding flavors like chocolate or coffee to garnishing with fresh fruit, keeping it exciting each time you make it.
Ingredients
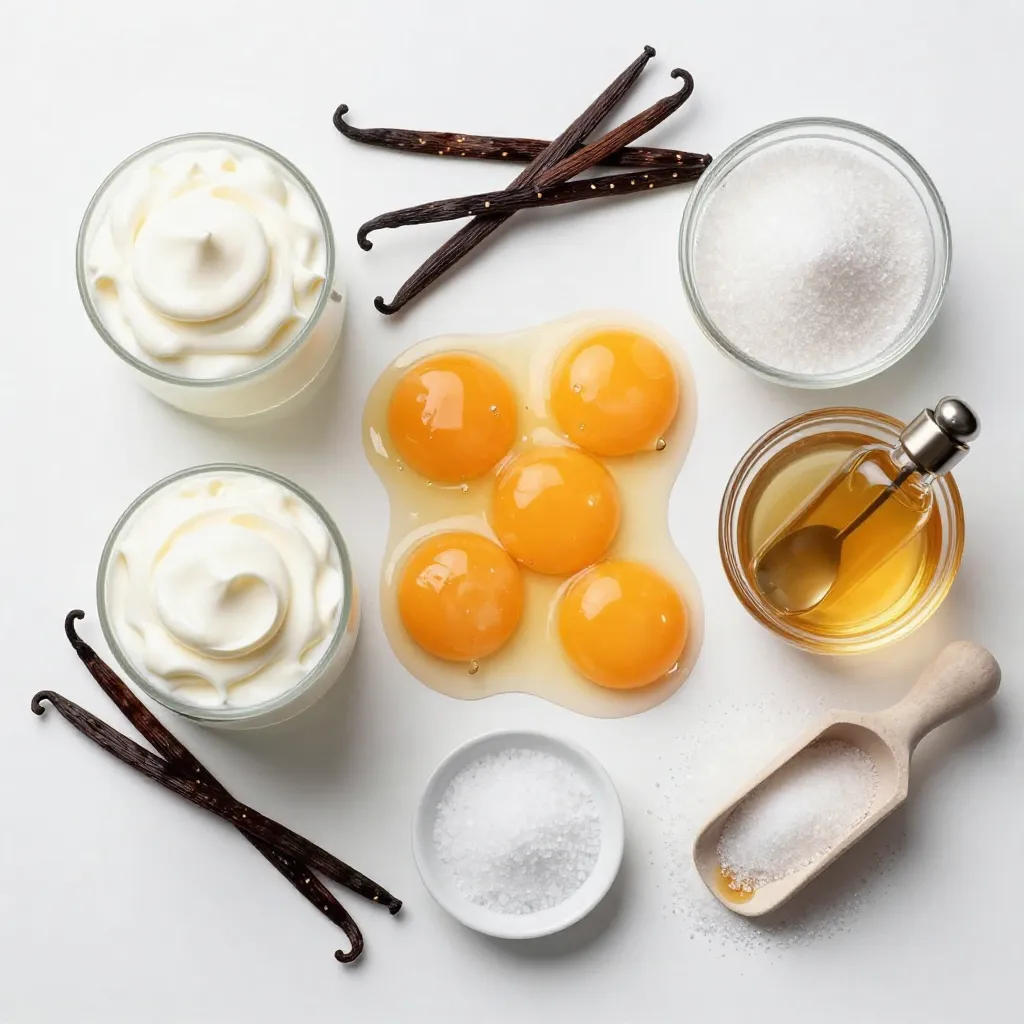
To make Vanilla Bean Crème Brûlée, you need simple yet rich ingredients. Here’s what you will need:
– 2 cups heavy cream
– 1 vanilla bean (split and seeds scraped)
– 4 large egg yolks
– 1/2 cup granulated sugar (divided into 1/3 cup and 1/4 cup)
– 1 teaspoon pure vanilla extract
– Pinch of salt
– Extra granulated sugar for caramelizing
Each ingredient plays a key role in creating that smooth and creamy texture. The heavy cream gives the custard its richness. The vanilla bean adds a deep, natural flavor that no extract can match. Egg yolks provide the custard’s silky base. Sugar sweetens, while the salt enhances all the flavors.
When you caramelize the extra sugar, it creates that iconic crispy top. This contrast makes each bite a delightful experience. Using fresh ingredients will always yield the best results. So, gather these items to start your delicious journey in making this classic dessert.
Step-by-Step Instructions
Preparation
1. Preheat your oven to 325°F (160°C). This step gets the oven ready for baking.
2. In a medium saucepan, combine 2 cups of heavy cream with the split vanilla bean and its seeds. Heat over medium heat. Stop heating when the cream starts to simmer. Remove it from the heat and let it steep for 15 minutes. This time allows the cream to soak up the rich vanilla flavor.
Mixing the Custard
1. In a large mixing bowl, whisk together 4 large egg yolks, 1/3 cup of granulated sugar, 1 teaspoon of pure vanilla extract, and a pinch of salt. Keep whisking until the mixture turns pale and light. This aeration is key to a creamy texture.
2. After steeping, take out the vanilla bean from the cream. Scrape any seeds back into the cream. Gradually pour the warm cream into the yolk mixture while whisking. This method prevents the eggs from cooking too fast.
3. Strain the combined mixture through a fine-mesh sieve into a clean bowl. This process removes small solids and gives you a silky custard.
Baking Process
1. Evenly fill your ramekins with the custard mixture. You should have about 5 to 6, depending on their size.
2. Place the ramekins in a deep baking dish. Carefully fill the dish with hot water until it reaches halfway up the sides of the ramekins. This water bath helps the custards cook evenly.
3. Bake in the preheated oven for about 30 to 35 minutes. The custards will set around the edges but should still jiggle a bit in the center.
4. Once done, remove the ramekins from the water bath. Allow them to cool to room temperature. Cover and refrigerate for at least 2 hours or, for best flavor, overnight.
Tips & Tricks
Achieving the Perfect Texture
To get the best texture in your crème brûlée, heating is key. Always heat the cream gently. If you heat it too fast, it might boil, and that can ruin your custard. After that, your baking time matters too. Bake for 30 to 35 minutes. The edges should look set, but the center should still jiggle a bit. This slight jiggle means your dessert will be creamy.
Caramelizing Sugar
You can caramelize sugar with two methods: a kitchen torch or a broiler. A kitchen torch gives you more control. You can focus on one spot and watch it carefully. If you use a broiler, keep an eye on it. The sugar can burn quickly. For a crispy topping, sprinkle sugar evenly on top. Use just enough to cover the surface without piling it on.
Ideal Serving Suggestions
When it comes to presentation, serve your crème brûlée in the ramekins. This looks rustic and charming. For a fancier touch, plate it with a fresh berry or a mint sprig. It adds color and freshness to your dish. Pair it with a rich coffee or a light dessert wine to enhance the flavors.
Pro Tips
- Use Fresh Vanilla Beans: Fresh vanilla beans provide an unparalleled depth of flavor compared to extracts. If you can, choose high-quality, plump beans for the best results.
- Water Bath is Key: Baking in a water bath ensures gentle, even cooking, preventing the custard from curdling. Always preheat the water before adding it to the baking dish.
- Chill Properly: Allow the crème brûlée to chill for at least 2 hours or overnight. This not only enhances the flavor but also helps in achieving the perfect texture.
- Caramelize with Care: When caramelizing sugar, ensure your torch is held at a distance to avoid burning. A quick, even motion is best to achieve that beautiful golden crust.
Variations
Flavor Combinations
You can give your vanilla bean crème brûlée a twist. One fun option is chocolate-infused crème brûlée. Just add melted chocolate to the warm cream before mixing it with the egg yolks. You will get a rich, chocolatey taste.
Another great idea is to try citrus zest. Use lemon or orange zest to brighten up the flavor. Just add a teaspoon of zest to the cream while it heats. This will add a fresh and zesty kick to your dessert.
Ingredient Substitutions
If you’re looking for dairy-free options, use coconut cream instead of heavy cream. It will still give you that creamy texture but with a unique flavor. For the egg yolks, you can try using silken tofu blended until smooth.
For sugar alternatives, consider using maple syrup or honey. They can add a different sweetness to the dish. Just remember to adjust the amount since they are sweeter than regular sugar.
Serving Variations
You can change up the portion sizes and ramekin choices. Use small cups for a bite-sized treat or larger dishes for sharing. Just ensure that the custard is evenly cooked.
For holiday-themed presentations, think about topping with seasonal fruits or edible flowers. You could also use colored sugar to create a festive look. A sprinkle of crushed candy canes for Christmas or colorful sprinkles for birthdays can make your crème brûlée extra special.
Storage Info
Refrigeration Tips
You can store your vanilla bean crème brûlée in the fridge for up to three days. This dessert tastes best when chilled. Make sure to cover each ramekin with plastic wrap. This helps keep the custard fresh and prevents it from absorbing other fridge odors.
Freezing Instructions
Crème brûlée can be frozen, but it’s not ideal. Freezing may change the texture. If you want to freeze it, place the ramekins in a freezer-safe bag. Remove as much air as possible before sealing.
When you’re ready to enjoy it, thaw the ramekins in the fridge overnight. Avoid using a microwave for thawing. This can cause uneven heating and ruin the creamy texture. After thawing, you can caramelize the sugar on top as usual. Enjoy your rich and creamy delight!
FAQs
What is the difference between crème brûlée and other custards?
Crème brûlée is a special kind of custard. It has a smooth, creamy texture. Other custards can be thicker or softer. Crème brûlée has a hard, caramelized sugar top. This gives it a unique crunch. Most custards are served soft, without the crispy layer.
Can I make this recipe in advance?
Yes, you can make crème brûlée ahead of time. After baking, let the custards cool. Then, cover them and place them in the fridge. They can stay fresh for up to two days. This makes it easy to serve at dinner parties or special events.
How do I know when the custard is done baking?
You want to look for a slight jiggle in the center. When the edges are set but the middle moves a little, it’s done. If it looks too firm, it may be overcooked. Trust your eyes!
Can I use vanilla extract instead of a vanilla bean?
You can use vanilla extract, but the flavor will be different. Vanilla beans give a richer taste. If using extract, add one teaspoon to the cream mixture. The result will still be tasty, but not as deep in flavor.
Making crème brûlée is a fun process that involves simple ingredients like heavy cream and egg yolks. We walked through preparation, mixing, baking, and tips for the perfect dessert. Remember to be gentle when heating and choose the right method for caramelizing sugar. There are also great variations to try, from chocolate to dairy-free options. Enjoy your creamy treat, and don’t forget to impress your friends with your new skills. This classic dessert is sure to deligh